Adding contacts in Pabbly Chatflow allows you to manage and engage with your audience efficiently. This guide provides step-by-step instructions on how to add a single contact, ensuring that your communication is streamlined and organized. By following these steps, you can easily store contact details, set preferences, and categorize contacts for better management.
Step 1. Login to Your Chatflow Account

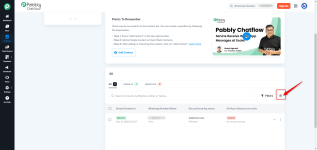
Step 6. Export the Contacts in .CSV
You can also export contacts using the CSV option.

Step 1. Login to Your Chatflow Account
- Access your Pabbly Chatflow account using your credentials.
Step 2. Navigate to the Contact Module
- On the left sidebar, locate and click on the Contacts module.
Step 3. Adding a Single Contact
- Click on the Add Contact button to initiate the process of adding a new contact.
Steps to Add a Single Contact:
- Enter the Mobile Number:
- Provide the contact’s mobile number, ensuring the correct country code is included.
- Select the Opt Status:
- Opted In: The recipient has agreed to receive messages.
- Opted Out: The recipient has chosen not to receive messages.
- Provide a Name (Optional):
- Enter a name for easy identification of the contact.
- Assign a Tag (Optional):
- Select an existing tag from the dropdown menu.
- If no tag is available, click Add Tag to create a new one.
- Click Add Contact: Save the contact by clicking on the Add Contact button.
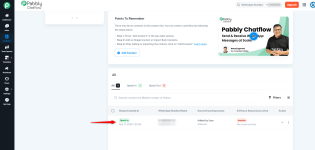
Step 4. Viewing Added Contacts
- Once the contact is added, it will appear in the contact table.
Step 5. Managing Contacts
You can edit, delete, or send a message to the contact using the Send Message option available in the three-dot menu next to the contact.Step 6. Export the Contacts in .CSV
You can also export contacts using the CSV option.
Attachments

Last edited: