What are Tags ?
A "tag" is a customizable label or identifier assigned to a contact or conversation to help categorize, filter, and segment your audience based on specific contact custom fields, activities, or statuses.
Tags help you manage contacts efficiently by grouping them under relevant labels like "Qualified Lead," "Webinar Attendee," "High Priority," etc. This makes it easier to run targeted broadcasts, track engagement, and personalize communication.
Follow these steps to add a tag to your Pabbly Chatflow account:
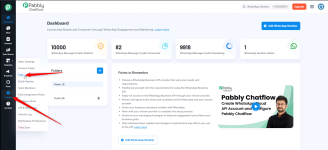
Step 1. Log in to Pabbly Chatflow
Access your Pabbly Chatflow account.
Step 2. Navigate to Tags Settings

Step 3. Add a New Tag

Step 4. Enable Auto-Tagging (Optional)

Step 5. Save the Tag

Your tag has now been successfully added to Pabbly Chatflow.

A "tag" is a customizable label or identifier assigned to a contact or conversation to help categorize, filter, and segment your audience based on specific contact custom fields, activities, or statuses.
Tags help you manage contacts efficiently by grouping them under relevant labels like "Qualified Lead," "Webinar Attendee," "High Priority," etc. This makes it easier to run targeted broadcasts, track engagement, and personalize communication.
Follow these steps to add a tag to your Pabbly Chatflow account:
Step 1. Log in to Pabbly Chatflow
Access your Pabbly Chatflow account.
Step 2. Navigate to Tags Settings
- Go to the Settings module.
- Click on Tags in the navigation panel.
Step 3. Add a New Tag
- Click on the Add Tag option.
- A dialog box will appear.
- Enter the Tag Name in the provided field.
Step 4. Enable Auto-Tagging (Optional)
- If needed, enable the Allows auto-tagging option.
- This will automatically assign the tag if a user’s first message matches the specified criteria.
Step 5. Save the Tag
- Click on Add Tag to finalize the process.
Your tag has now been successfully added to Pabbly Chatflow.