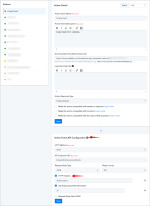
In this article, we have outlined a scenario where a user needs to configure parameter-based authentication instead of header-based authentication.
The explanation includes a step-by-step guide on how to implement the parameter-based authentication instead of header-based authentication.
For example, here we are taking the RSS.app application, which is using the above-mentioned authentication.


Successful Setup:
By following the above steps, you can successfully configure parameter-based authentication instead of header-based authentication.
The explanation includes a step-by-step guide on how to implement the parameter-based authentication instead of header-based authentication.
For example, here we are taking the RSS.app application, which is using the above-mentioned authentication.
- Select the Parameters option as an Auth Type, if the API request authenticates using a key-value pair in the headers. In this option, you need to specify the header key while creating each action event of your application.
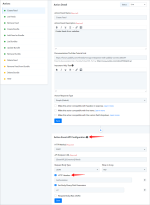
- After providing the necessary details and choosing the correct authentication type, now we have to create an action event inside our application and navigate to "Action Event API Configuration".
- To configure the action event, select the method as POST and enter the API endpoint URL in the API endpoint field. Ensure you select "Set Body/Query/Path Parameters" and "HTTP Headers".
- Click on the gear icon of the HTTP Headers and set the default value similar to the value we've set on our application while choosing the authentication.
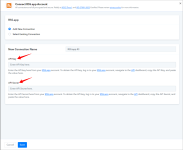
- To run this action event in your workflow. Choose the action event and create a connection.
- To create a new connection we need to enter the API Key and API Secret. The RSS.app application passes the API Key and API Secret into Headers.
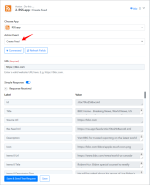
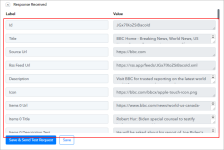
- After creating the connection, capture the required response.
Successful Setup:
By following the above steps, you can successfully configure parameter-based authentication instead of header-based authentication.
Attachments
Last edited:


