Hi Himesh,
To assist you with the authentication process for your custom app on the BuildXact platform, here’s a general approach you can follow:
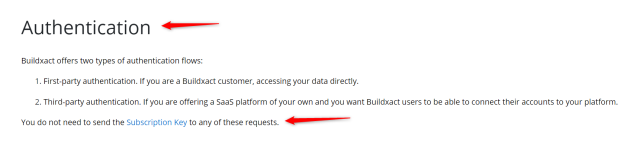
1. Understand the Authentication Flow:
- From the API documentation you shared, BuildXact uses OAuth 2.0 for authentication. This typically involves obtaining an access token using a client ID, client secret, and redirect URI.
- The access token is then used to authenticate your API requests.
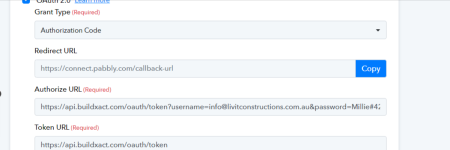
2. Setting Up OAuth 2.0:
- Register Your App: Ensure your app is registered with BuildXact, and you have the necessary credentials (client ID, client secret).
- Redirect URI: Define a redirect URI where BuildXact will send the authorization code after the user grants permission.
- Authorization Request: Direct the user to the authorization URL provided by BuildXact, where they will log in and grant your app the necessary permissions.
- Exchange Authorization Code: Once you receive the authorization code via the redirect URI, exchange it for an access token by making a POST request to the token endpoint provided in the API documentation.
3. Making Authenticated Requests:
- Use the access token in the Authorization header of your API requests (typically as Authorization: Bearer <access_token>).
4. Handle Token Expiration:
- Implement logic to handle token expiration by refreshing the token when necessary. This ensures continuous access without requiring the user to log in again.
5. Testing:
- Test the authentication flow thoroughly to ensure everything works as expected.
if you need expert assistance or further development support,
Skad IT Solutions is a leading technology partner based in Dubai, specializing in web and
mobile app development, including custom integrations and complex authentication setups. Our team can help streamline your development process and ensure robust security for your app. Feel free to contact us for professional guidance.